Prerequisites
Make sure you have Docker Desktop with Docker Compose v2.24 or greater installed on your system.If you are on an M-series Mac, you need to install Docker using the dmg package supplied officially by Docker rather than through Homebrew or other means to avoid build issues.
Get the Code
To get started, clone the repository through the command line or your preferred IDE:Run DeFi Agents
The swapping and lending agents start automatically when you launch the Vibekit frontend. Follow the steps below to get everything up and running.1
Configure Environment Variables
Navigate to the typescript directory and create a At a minimum, you need:
.env file by copying the .env.example and filling in the required values:- Your preferred AI provider API key (e.g.,
OPENROUTER_API_KEY,OPENAI_API_KEY) - Generate a secure
AUTH_SECRET
2
Start Services
If you previously ran
docker compose up with an older version of the Vibrekit and encountered frontend errors or database-related errors in the docker service logs, follow these steps:- Clear your browser cache.
-
Run the following command in your terminal:
3
Access the Web Interface
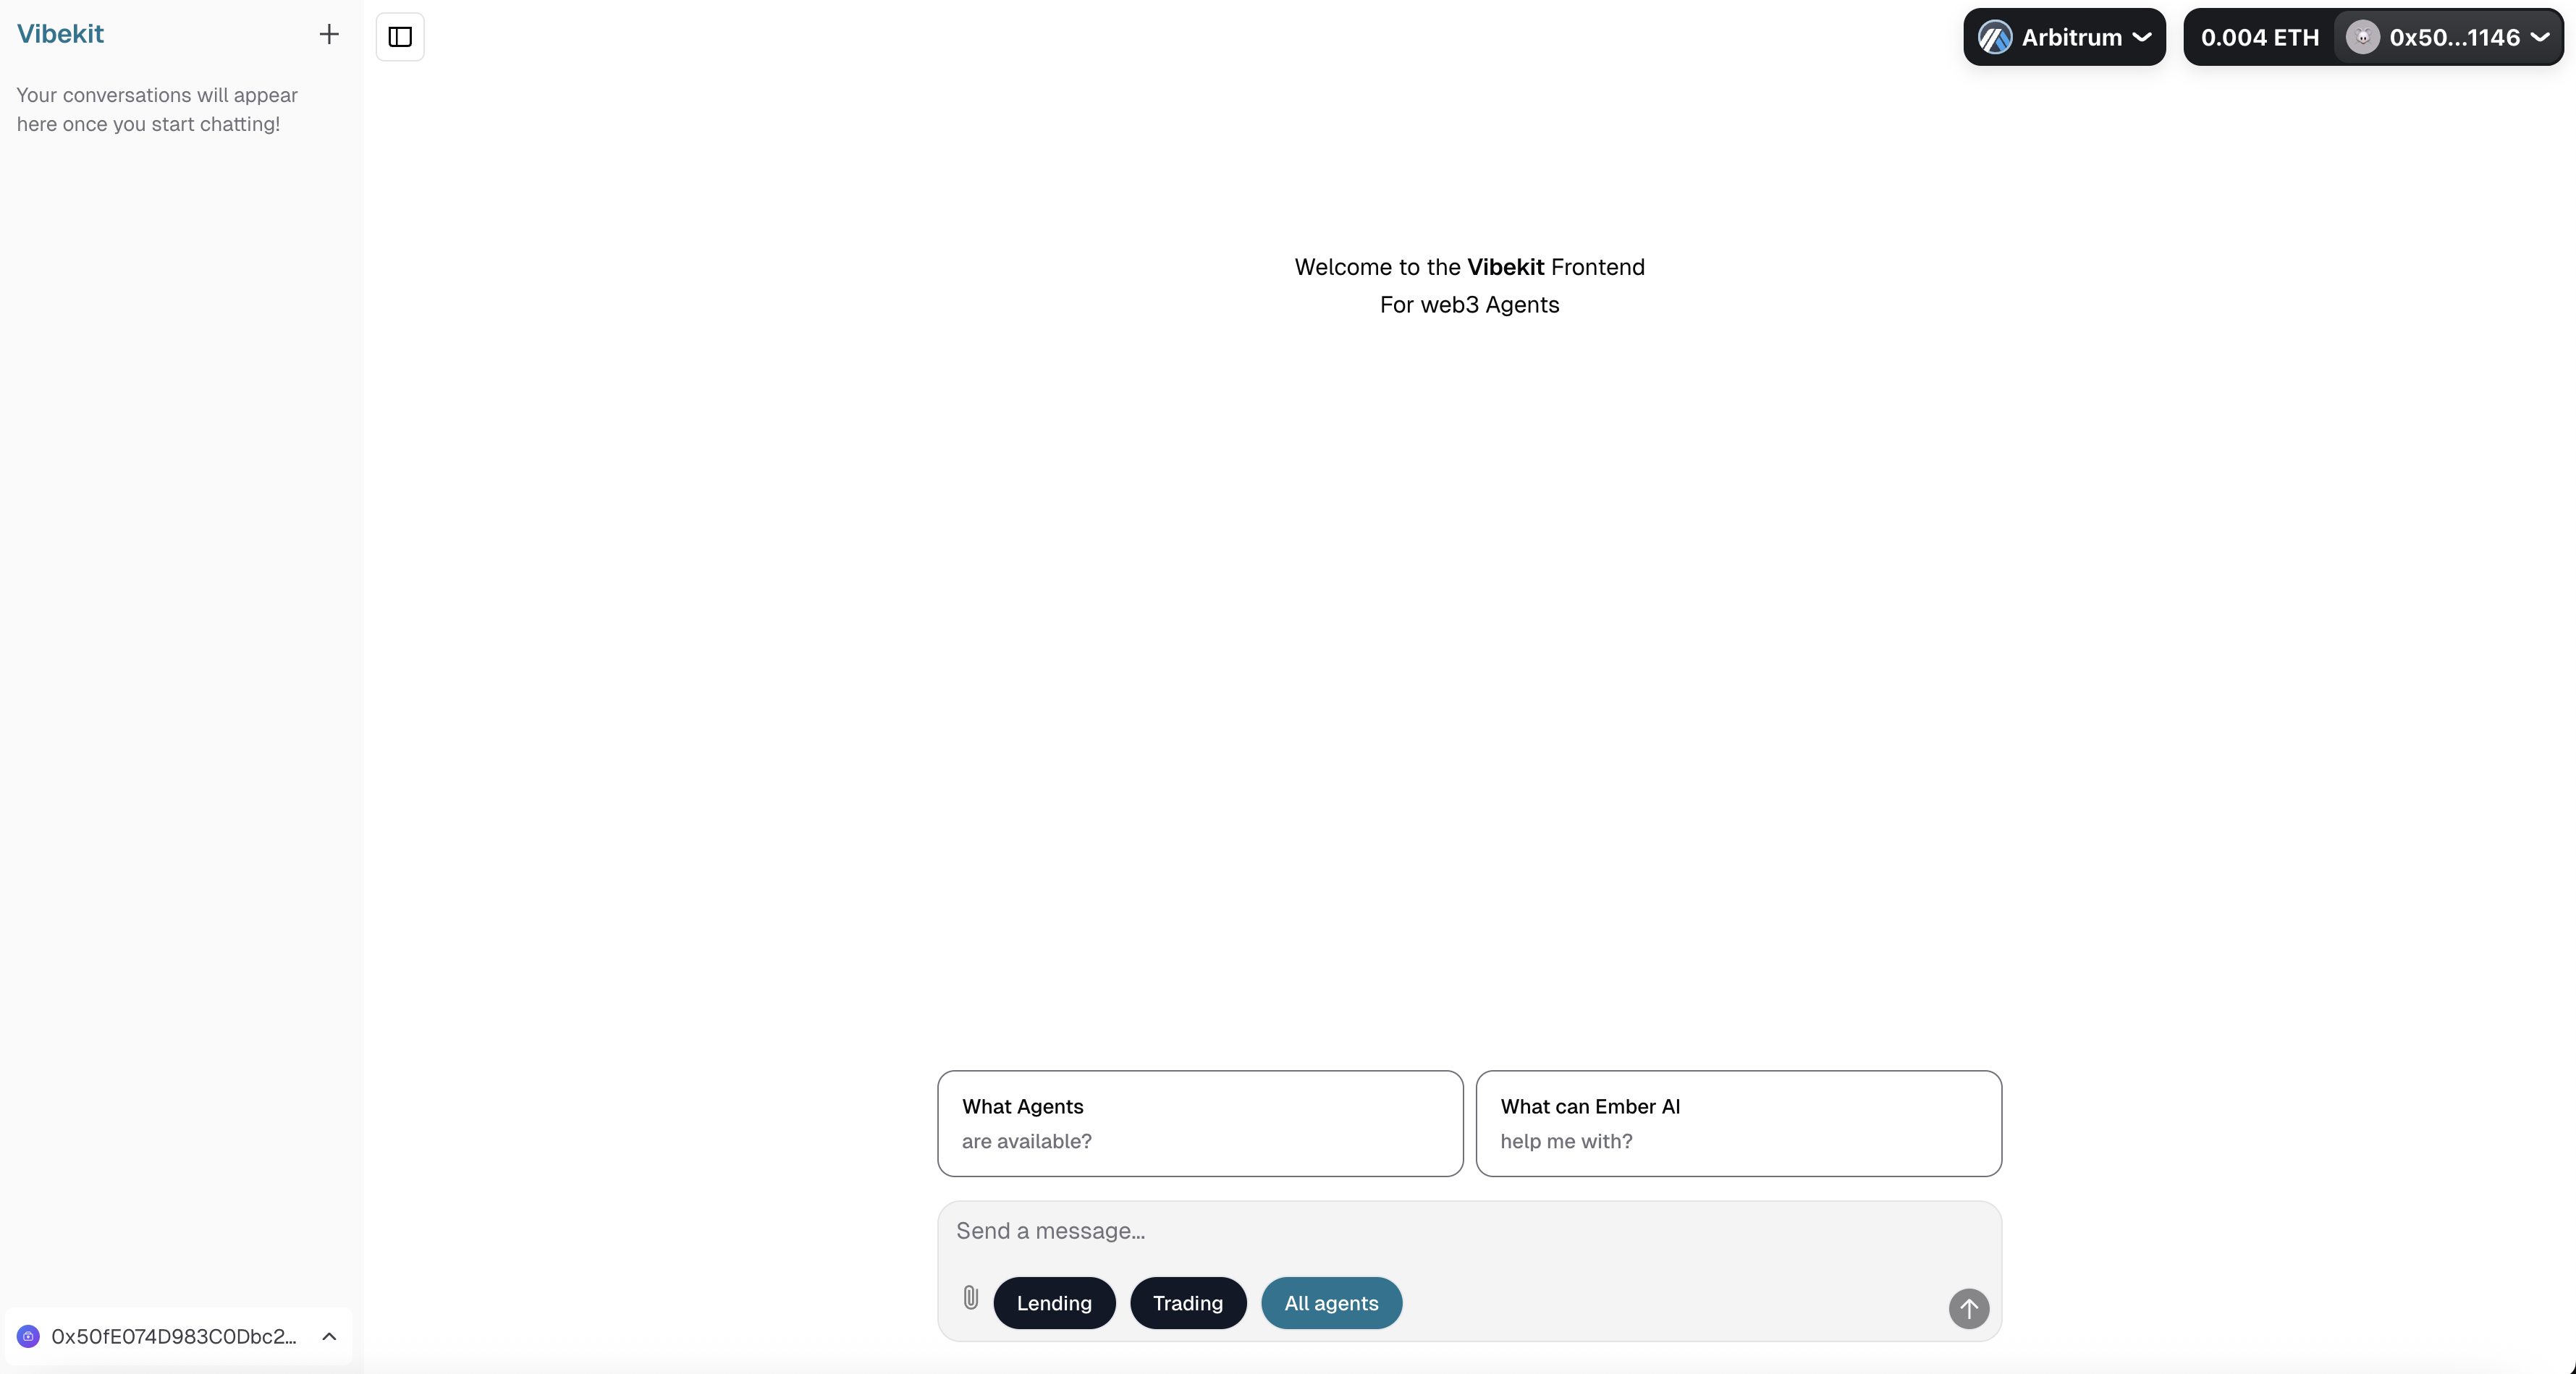
Once all services are running, open your browser and navigate to http://localhost:3000. To be able to chat with the agents, you need to connect your wallet first. Click on “Connect Wallet” to get started: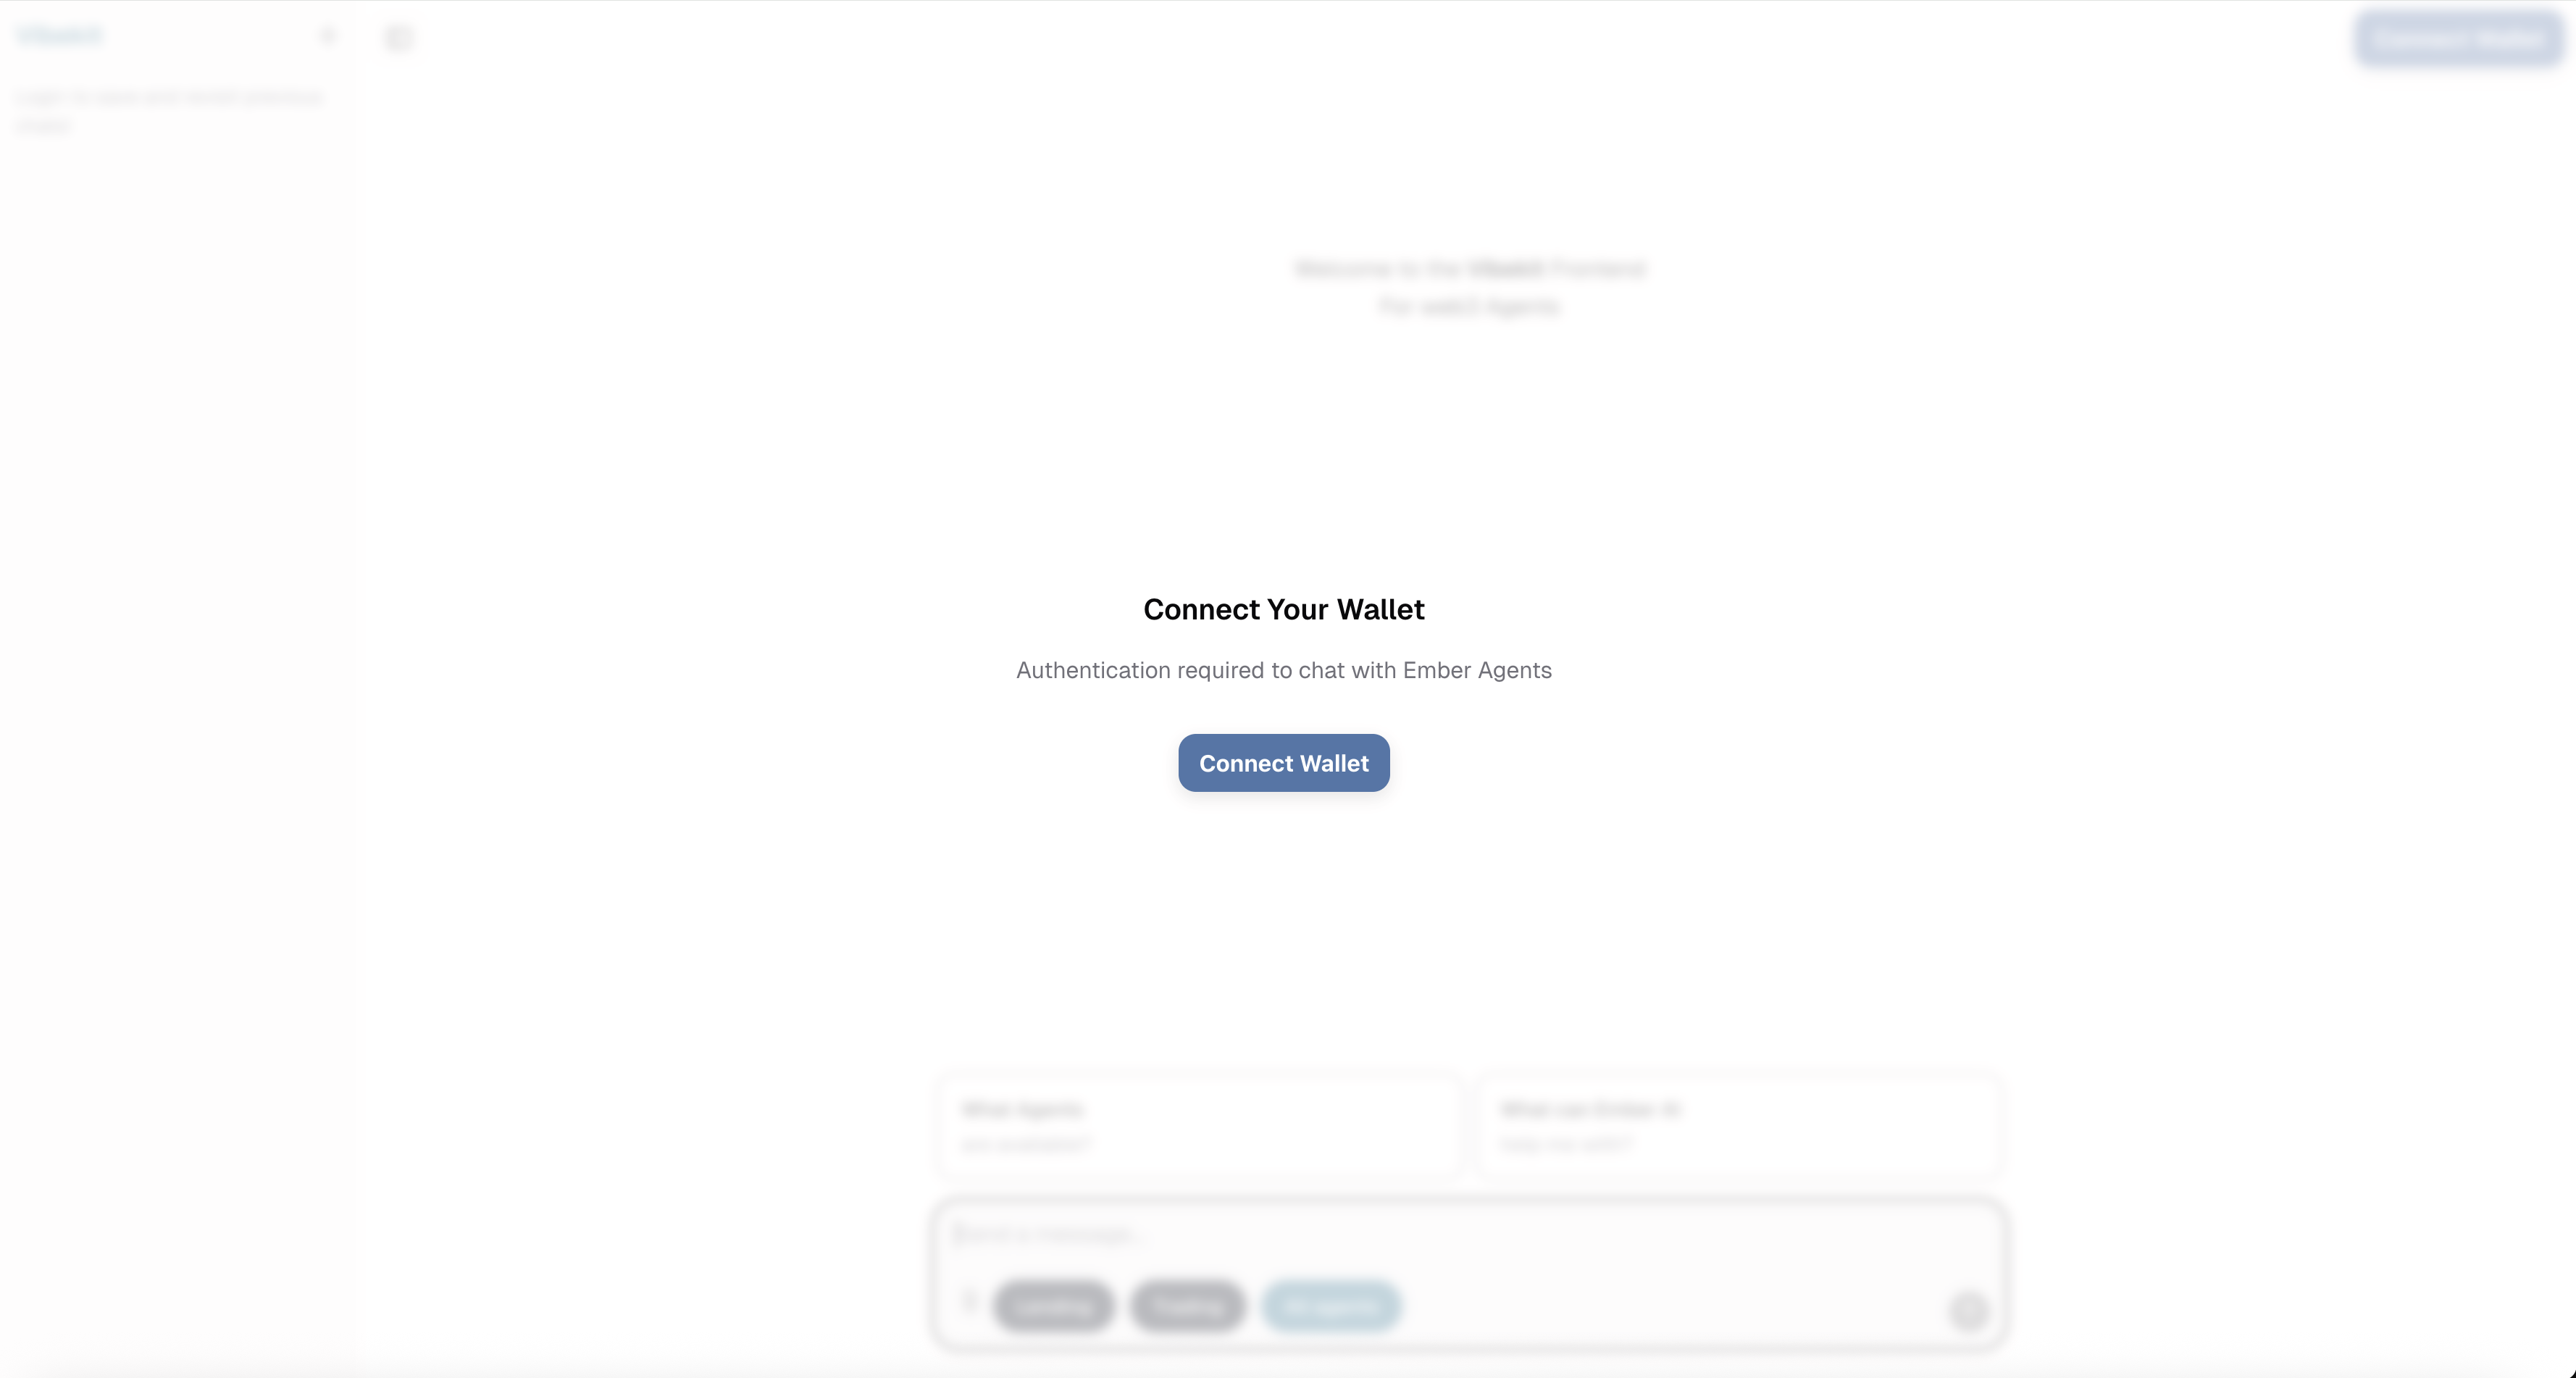
Build Your Own Agent
To build your own agent, we recommend using ourquickstart agent template. It provides all the necessary boilerplate code so you can start building right away. Follow these steps to integrate and run the quickstart agent:
1
Enable quickstart agent
Let’s enable the
quickstart agent on the frontend. In the agents-config.ts file, uncomment the agent’s configuration in two places:2
Add Agent to Docker Compose
In the docker compose file, uncomment the service definition for the
quickstart agent:3
Configure Agent's Environment
Navigate to the agent’s directory and create a local
.env by copying the.env.example file. Make sure to populate the .env file with your API keys and configurations:4
Rebuild and Restart Services
Navigate to the The
typescript directory, rebuild the web application and restart all services to apply the changes:quickstart agent is now accessible through the web frontend. You can now modify the agent to implement your logic. Make sure to rebuild services after your changes.To learn more about Vibekit’s agent configurations, refer to this guide.